1997 W202 C200 Restoration Part One
A two-part article on the restoration of a 1997 Mercedes C200 W202.
CLASSIC CAR RESTORATIONS
Admin
2/18/20254 min read


This is not necessarily a how-to article, but more like an overall view of the key areas that were worked on and what to keep in mind when venturing into the world of classic car restorations.
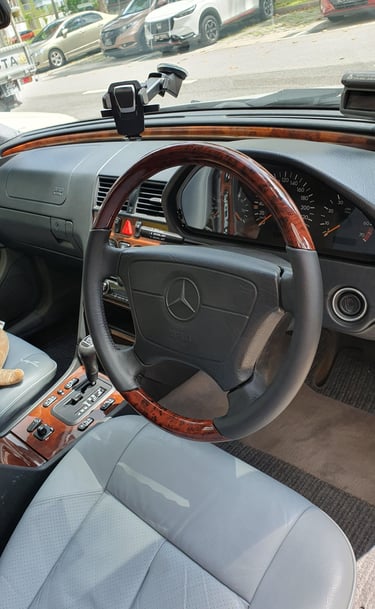
In late 2023, picked up a 1997 W202 Mercedes C200. It was a 1 owner car and I had established the car was at least 75% there (no rust, straight chassis, healthy engine and transmission e.g.) in terms of condition. Although the car had many issues that would put off many a buyer and needed quite a bit of work, I was confident that I could get the car back to its former glory! I thus made the seller an offer and closed the purchase. The seller was a 94 year old gentleman who hadn't been able to use the car much over the past few years. He had purchased the car as his retirement gift to himself and the car held many good memories. I promised to take good care of it. Above is how the car looked when I first took delivery of it!
The first step was to assess the car’s overall needs and price out as much as possible the restoration. Basically the “Must-Do’s” vs “Extras” and also to ensure that no aftermarket parts were used. Stock is best! For the upholstery, it was also important to maintain the same color scheme as the original and to refurbish the stock parts that are already on the car as far as possible. As the W202 is not a common vehicle in Singapore, the duration of this restoration was very dependent on the availability of the spares and replacement parts, some of which had to sourced from places as far as Azerbaijan and Ukraine!
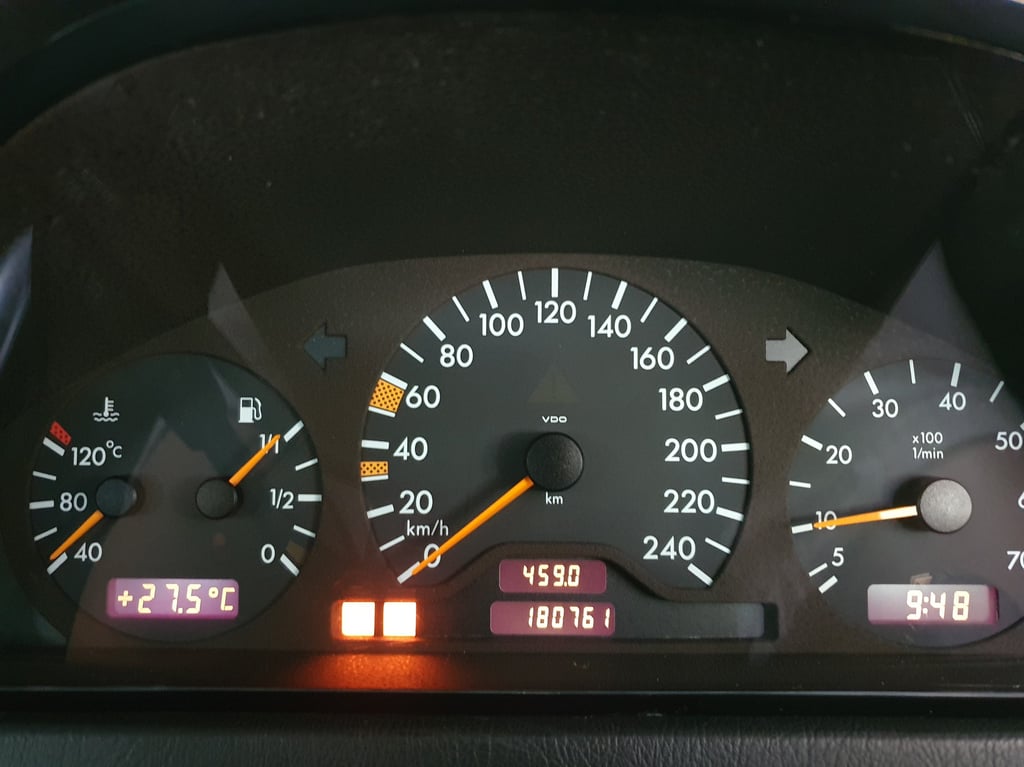
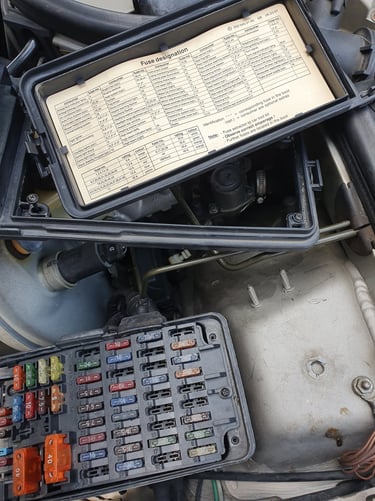
There were 2 warning lights that came free with the car, the wiper washer and coolant level alerts which had to be addressed. First checked that all the fuses were in order. In addition, the wiper washer and coolant levels were spot on and the car was not overheating. On further research, I found that the wiper washer circuit was indeed linked to the coolant level circuit and guessed that if the wiper washer alert was fixed, it might also solve the coolant level alert. Opting to go after the low hanging fruits first, proceeded to order a new wiper washer level sensor. On replacing it, both the wiper washer and coolant alert lights went out. The first problems were thus solved with a $20 part :-).

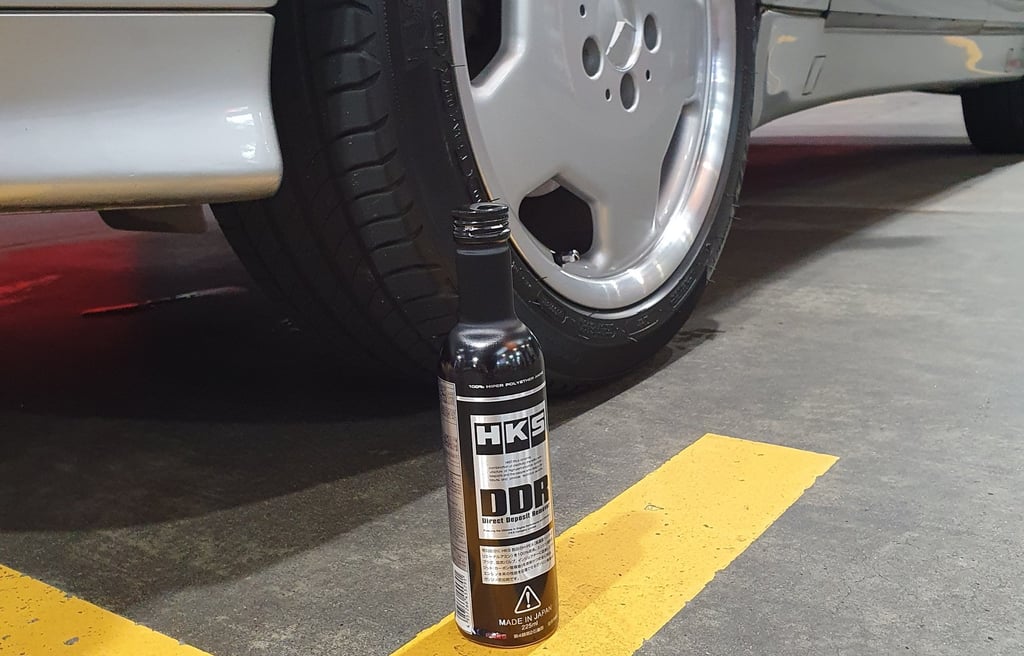
The car felt a little down on power. It could have been due to the fact that it had sat unused for sometime under the previous owner. Now that the dash warning alerts had been addressed, it was time to run the car a bit and decided to give the fuel system a HKS Direct Deposit Remover (DDR) pep-up to help clear the deposits in the combustion chamber and spark plugs. A sorta low-intensity Italian Tune-up if you will! As you can see, safety was a consideration and I couldn't resist putting on a set of 17" Mercedes AMG C36 AMG Monoblock wheels and new tires which really greatly improved the ride and handling. It also helped to lift the car's appearance and gave it AMG C36 vibes! But more on that later!
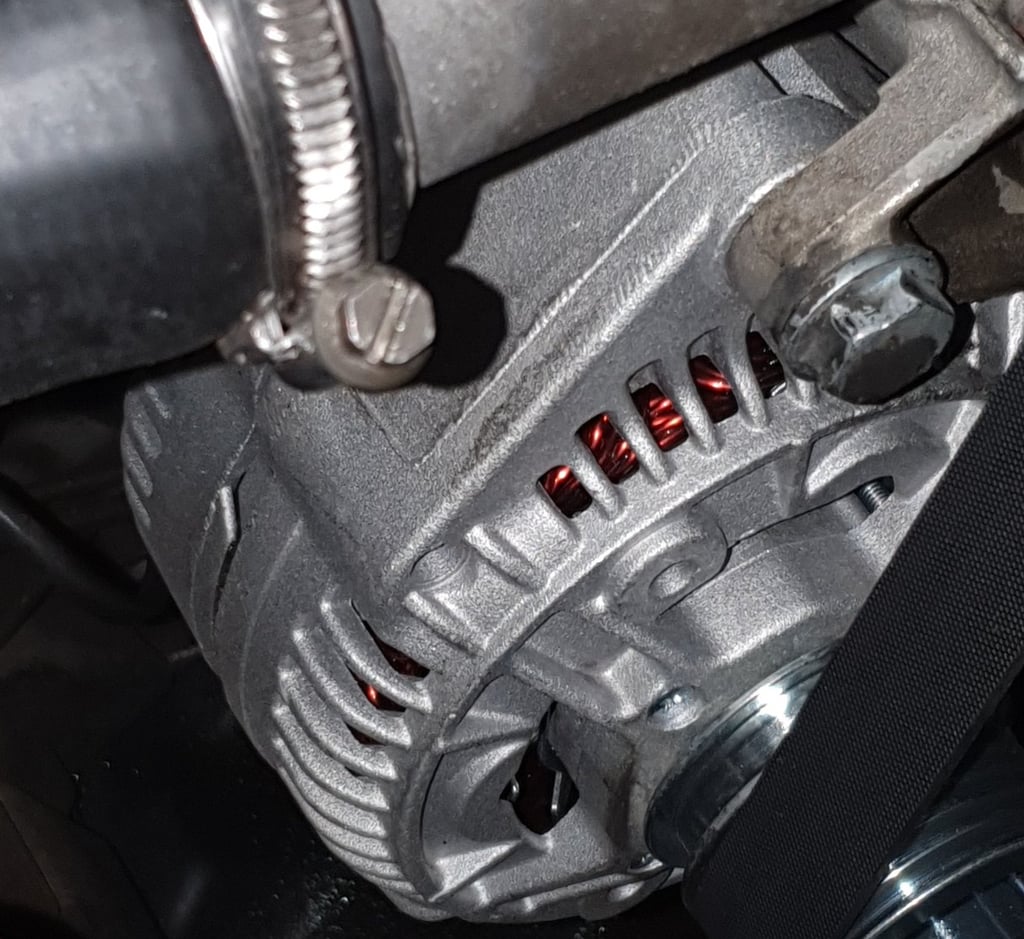
Through testing the battery voltages with the alternator running, determined that the alternator was on the way out. Replaced a brand new Bosch unit for peace of mind. Replaced the fan belt at the same time.
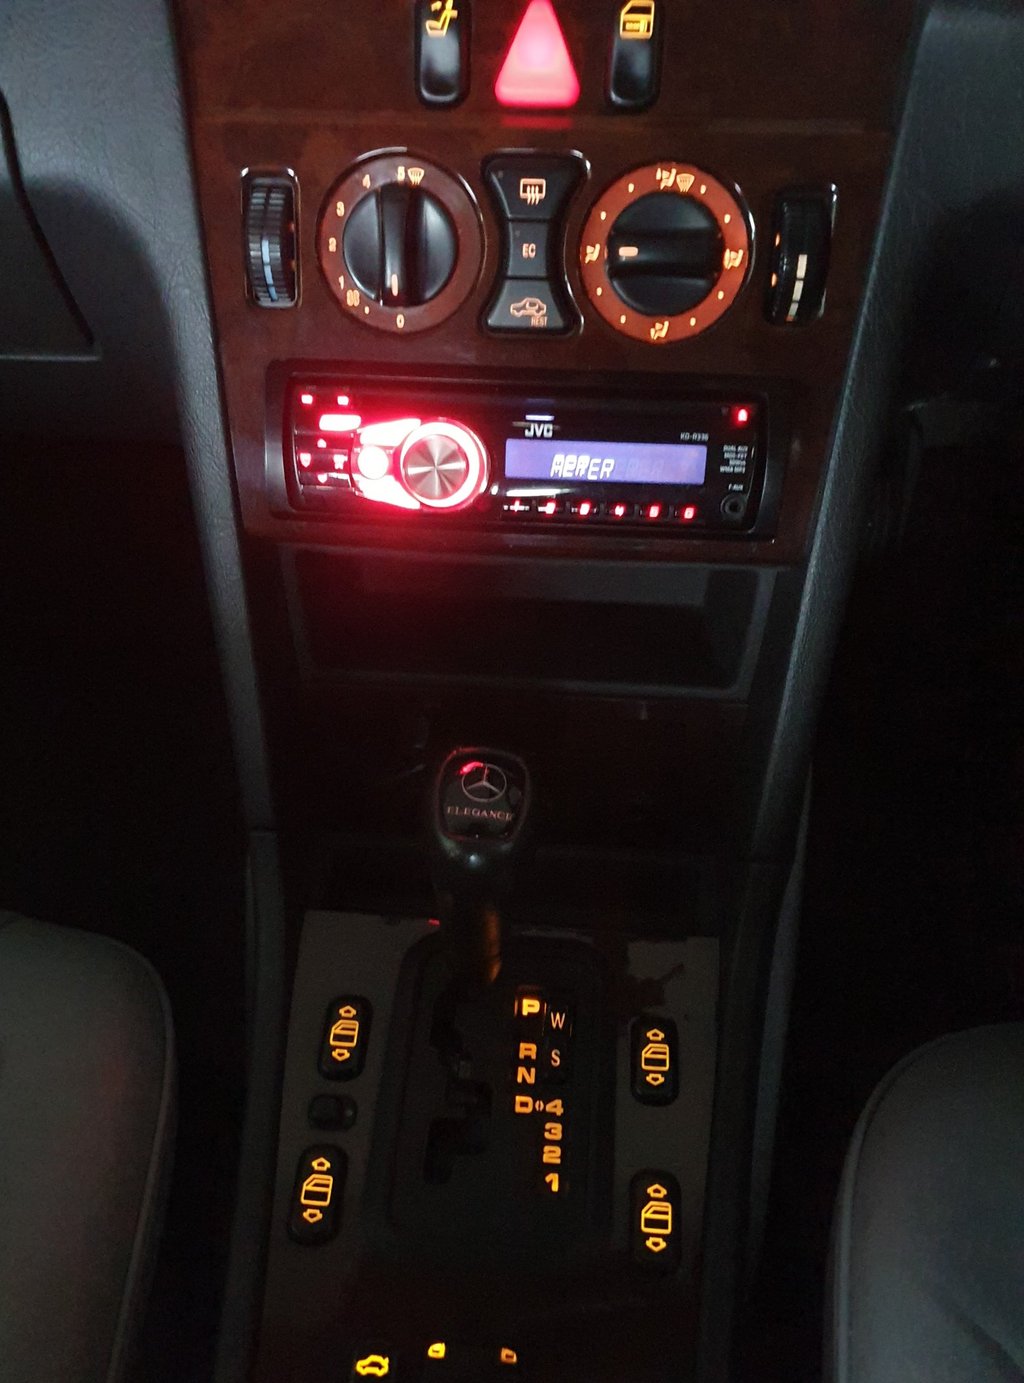
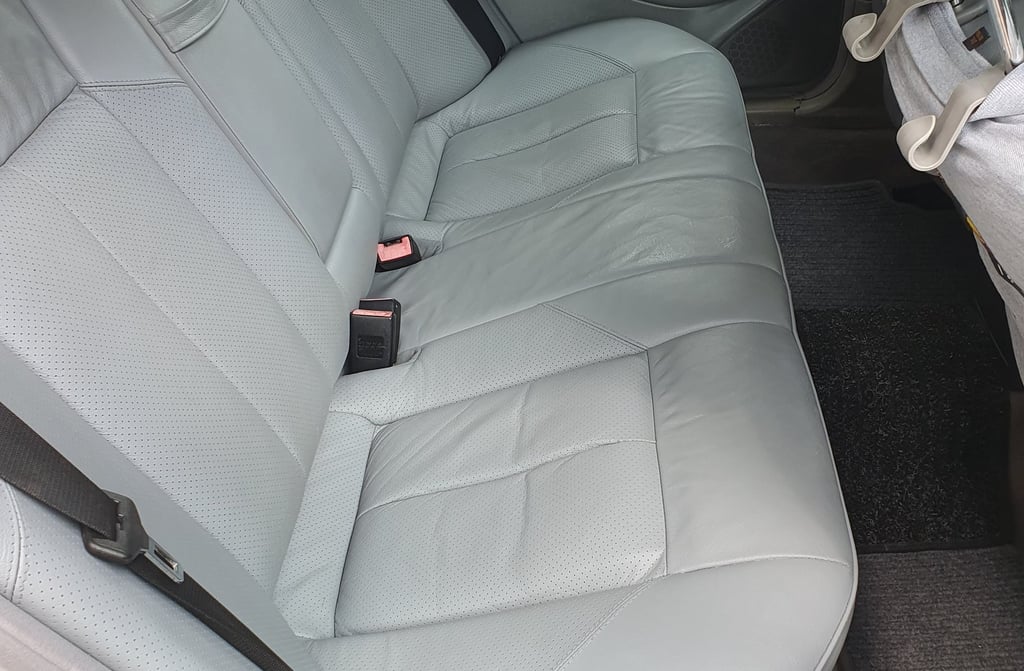
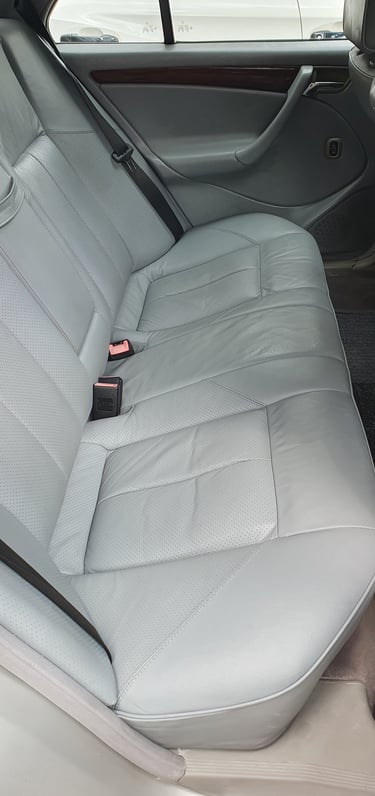
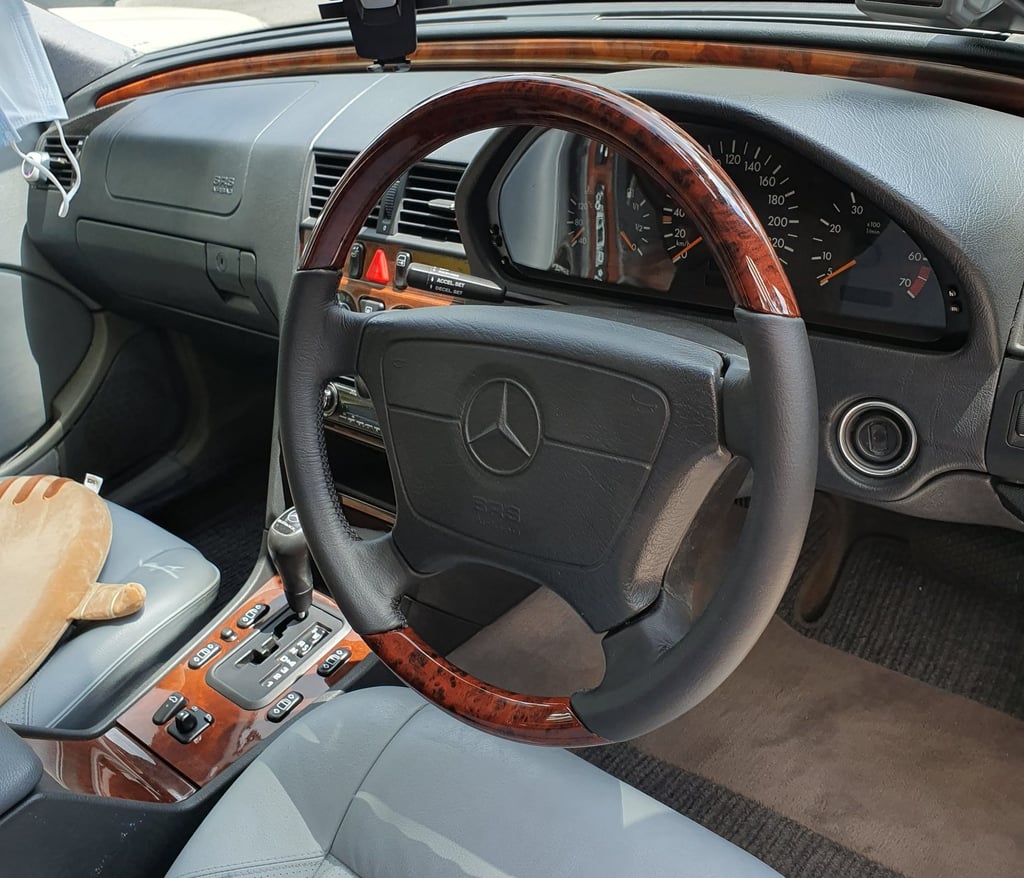
While waiting for the undercarriage parts to arrive, decided to focus on some pressing issues with the interior. The leather seats were faded and cracked in places from 26 years of usage. The aircon controls were also not fully functional and the center console wood panel and buttons were worn. Had the leather upholstery restored and replaced new aircon controls, center console wood panels and buttons. Also fitted a new Nappa leather and wood steering to replace the original leather steering which had seen better days. Almost everything was looking brand new and the interior was now looking pretty good!
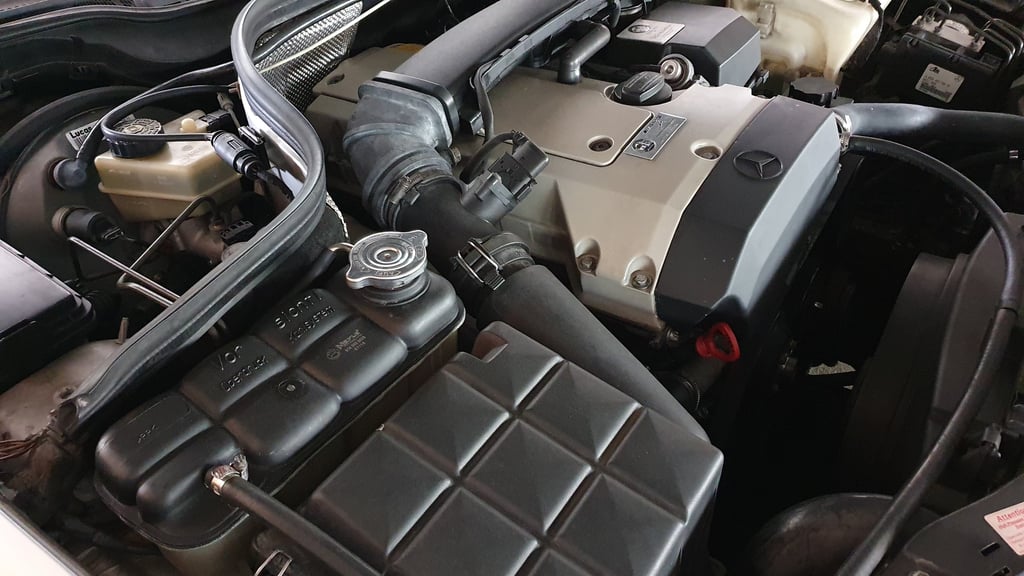
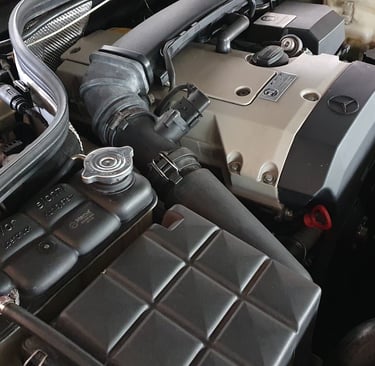
Finally got down to doing a full service, starting with fresh 10w40 Shell Synthetic oil and a new set of spark plugs. Next were new air and aircon filters. Also replaced the transmission fluid and filter as well as the rear differential fluid, which most folks might inadvertently avoid doing. Some mechanics might advise leaving the old differential fluid in but it is really crucial to replace the fluid according to the maintenance intervals. At this juncture, did an inspection of the entire undercarriage and identified all the undercarriage components that needed replacement and made a list of items to be ordered. Next job was to flush the coolant system with the correct Mercedes coolant and replaced a new thermostat and coolant overflow tank for that extra peace of mind! The engine bay was starting to look really good!
This concludes Part 1 of the restoration blog for the 1997 W202 Mercedes C200. Stay tuned for Part 2!